
Homeowners can easily address common faucet issues like low water pressure (from mineral build-up or clogged filters) and leaking faucets (due to worn O-rings or washers). Regular maintenance, including cleaning and inspection, prevents problems. Before repairing, gather necessary tools (wrenches, pliers, Teflon tape, plumber's putty) and compatible replacement parts. Identify your faucet type for correct tools and techniques. Disassemble the faucet (turn off water supply, remove handles, disconnect sprayer, etc.) to access and replace faulty parts like O-rings and washers. Regular cleaning and maintenance extend faucet life. Test reassembled faucets for leaks and functionality before regular use.
“Faucet Installation and Repair: A Comprehensive Guide for DIY Enthusiasts. Whether dealing with a leaky faucet, a loose handle, or a malfunctioning sprayer, understanding common issues is key. This article equips you with the knowledge to tackle these problems head-on. From gathering the right tools and materials to identifying your faucet type and disassembling it for repair, each step is clearly explained. Learn techniques for replacing worn O-rings and washers, tightening or swapping handles, and reassembling seamlessly. Maintain your fixtures like a pro with our final tips.”
Understanding Common Faucet Issues
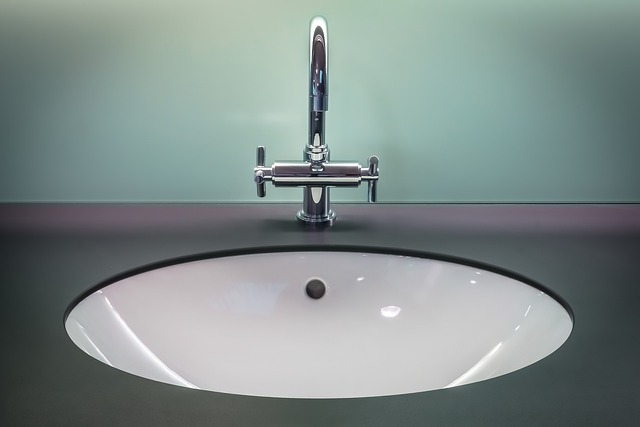
Many common faucet issues can be easily identified and resolved by homeowners, saving them time and money on potential plumbing emergencies. One of the most frequent problems is low water pressure, often caused by a mineral build-up in the aerator or a clogged water filter. A simple cleaning or replacement of these components can restore optimal flow. Another typical issue is leaking faucets, which may result from worn-out O-rings or washers inside the faucet mechanism. These parts are relatively inexpensive and easy to replace, stopping unnecessary water waste.
Understanding these basic issues equips homeowners with the knowledge to perform quick, cost-effective repairs. For more complex problems like faulty valves or damaged pipes, however, professional Faucet Repair services might be required to ensure a proper fix without causing further damage. Regular maintenance, including periodic cleaning and inspection, can also help prevent such issues from arising in the first place.
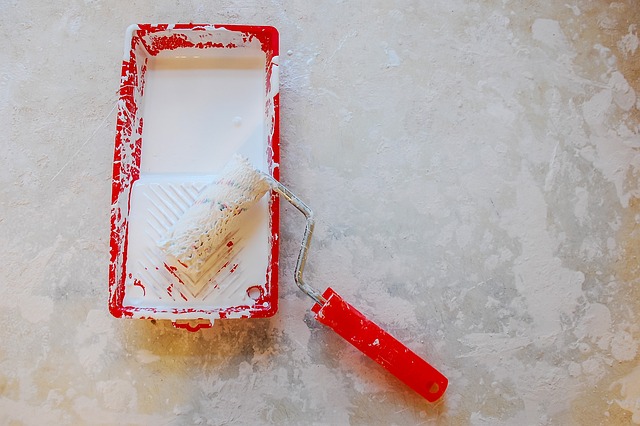
Gather Tools and Materials for Repair

Before tackling any faucet repair, make sure you have all the necessary tools and materials on hand. This typically includes a wrench or pliers for gripping and turning parts, often in tight spaces; replacement faucets, if you plan to upgrade; Teflon tape or plumber’s putty for sealing connections; and some basic cleaning supplies to remove corrosion or mineral buildup. For more complex issues, such as leaky valves or broken components, specialized tools may be required, so consider your repair scope before shopping.
When selecting materials, choose parts that are compatible with your faucet’s make and model, ensuring a secure fit and optimal performance. Read product descriptions thoroughly, and if you’re unsure, consult your faucet manufacturer’s website for specific recommendations or contact them directly. Having the right tools and supplies will significantly facilitate the repair process, ensuring a neat finish without unnecessary headaches.
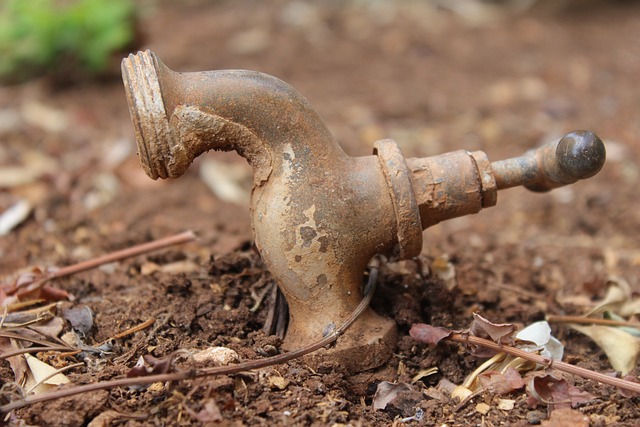
Identifying Your Faucet Type

Identifying your faucet type is a crucial step in any repair process, as different faucets require specific tools and techniques for successful installation or troubleshooting. Whether it’s an ancient claw-foot design or a modern touchless sensor model, each has its unique features. Start by examining the faucet’s body, handles, and spout for any markings or labels that indicate the manufacturer and model. These can provide valuable insights into the faucet’s construction and potential repair needs.
Additionally, consider the number of holes in the sink and the type of connections. Common types include compression fittings, cartridge systems, and ceramic disk mechanisms. Each has distinct parts and replacement processes. For instance, compression faucets rely on O-rings for sealing, while cartridge models use a replaceable cartridge assembly. Understanding these variations will ensure you have the right tools and parts on hand for effective faucet repair.
Disassembling the Faucet
When it comes to faucet repair, disassembling the faulty unit is often the first step. This process varies depending on the type and model of your faucet, but a general approach involves turning off the water supply valves located under the sink. Once the valves are turned off, you can remove the faucet handle(s) by unscrewing them from the valve stem. After that, carefully take apart the faucet body, discarding any damaged or worn-out components. This may include disconnecting the sprayer, removing the aerator, and taking out the cartridge or valve assembly. Each step should be documented for future reference during reassembly, ensuring a more efficient and accurate repair process.
Replacing O-Rings and Washers
When undertaking a faucet repair, one common yet often overlooked component to check and replace are the O-rings and washers. These small parts play a crucial role in maintaining water tightness and smooth operation. Over time, they can wear out or become damaged, leading to leaks or a sticky faucet handle.
To replace these parts, first, turn off the water supply under the sink. Then, disassemble the faucet according to its specific design. Usually, this involves unscrewing the faucet handle and removing the spout. Once accessible, inspect the O-rings and washers for any damage or deformation. If they appear worn or hardened, replace them with new ones that match your faucet’s specifications. Ensure proper placement, as misalignment can lead to future issues. Reassemble the faucet, following a similar process in reverse, and test its functionality to confirm successful repair. Remember, timely replacement of these parts is key to preventing bigger plumbing problems and ensuring efficient faucet repair.
Tightening or Replacing Faucet Handles
When it comes to faucet repair, one common issue that homeowners often encounter is loose or broken faucet handles. This simple problem can disrupt your daily routine and affect water flow, making it essential to address promptly. If your handle is simply loose, tightening it with a screwdriver can often solve the issue. Ensure the handle is turned clockwise to secure it firmly against the valve stem.
For damaged or worn-out handles, replacement is usually the best course of action. Many modern faucets use easy-to-install plastic handles that can be replaced quickly. The process involves removing the old handle by unscrewing any visible screws and detaching any flexible connections. Once removed, fit the new handle in place, securing it with screws until tight. Regular maintenance and prompt repair can extend the life of your faucet and prevent further complications.
Reassembly and Testing
After successfully replacing the faulty parts, it’s time for reassembly and testing. Begin by reconnecting all pipes and hoses to their respective fittings, ensuring a secure connection. Next, turn on the water supply valves that were previously turned off during disassembly. Gradually open each valve to check for any leaks at the connections or around the faucet. If leaks are present, tighten the fittings using a wrench or pliers, but be careful not to overtighten. Once all leaks have been addressed, fully operate the faucet, testing its functionality, including temperature control (if applicable), and the strength of water flow. Regular use will help you identify any lingering issues that may require further adjustment or repair.
Final Tips and Tricks for Maintenance

When it comes to maintaining your faucet, regular cleaning is key to prevent mineral buildup and ensure smooth operation. Use a soft brush or cloth to gently scrub away any residue, especially around the aerator. Remember, regular care can save you from more complex repairs in the future.
For minor leaks, check the O-rings and cartridges for wear and replace them if needed. This simple step can stop water wastage and further damage. Additionally, keep an eye on the faucet’s finish; a protective coating prevents corrosion. Reapplication of this coating can restore its shine and longevity. These easy tips will help you maintain your faucet repair and keep it in top condition for years to come.