
This text provides a comprehensive guide to bathroom faucet repair, emphasizing DIY solutions for common issues like leaks, low pressure, and intermittent flow. Key points include identifying faulty parts (O-rings, cartridges, washers), the importance of proper tools and compatible parts, and the initial step of shutting off the water supply at the main shut-off valve. The guide details each repair step, from disassembling handles and spouts to reassembling and testing for leaks. It also highlights when professional faucet repair is necessary, emphasizing plumbers' expertise in complex issues and system inspections. Regular maintenance practices, such as damage checks, leak repairs, lubrication, and cleaning, are encouraged to prolong faucet lifespan and minimize future repairs.
Struggling with a leaky or malfunctioning bathroom faucet? This comprehensive guide will walk you through simple repair processes, empowering you to fix common issues without professional help. From understanding fundamental problems like leaks and low water pressure to gathering essential tools and parts, we’ve got you covered. Learn the step-by-step process of disassembling, inspecting, and reassembling your faucet, plus troubleshooting tips for various challenges. Keep your bathroom fixtures in top shape with regular maintenance and avoid costly professional interventions.
Understanding Common Faucet Issues
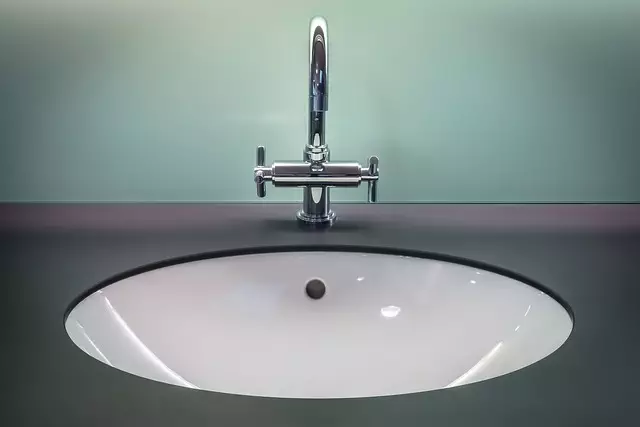
Many bathroom faucet issues can be easily resolved with some basic knowledge and a few simple tools. Common problems include leaks, low water pressure, and intermittent or no flow. Leaks often originate from worn-out O-rings or cartridges, which can be replaced relatively easily. Cartridges control the water flow and temperature, so their malfunction can lead to either too little or too much water. Low water pressure could be due to mineral buildup in the aerator, a small mesh device at the tip of the faucet that regulates flow; cleaning or replacing it might restore proper pressure. Intermittent or no flow is often a sign of an electrical or mechanical malfunction, possibly requiring professional faucet repair.
Gather the Necessary Tools and Parts
Before starting any faucet repair, make sure you have all the necessary tools and parts. Gather a set of adjustable wrenches for tightening or loosening pipes, pliers for gripping and bending, a new washer or O-ring (commonly used parts in faucet repairs), and replacement valves if needed. Also, collect any other specific tools required for your faucet model, as some may have unique designs or additional components.
For successful faucet repair, source high-quality replacement parts that are compatible with your faucet brand and model. Check the faucet’s identification number or consult your owner’s manual to ensure you get the right parts. Having these essentials on hand will make the repair process smoother and more efficient, ensuring a functional faucet in no time.
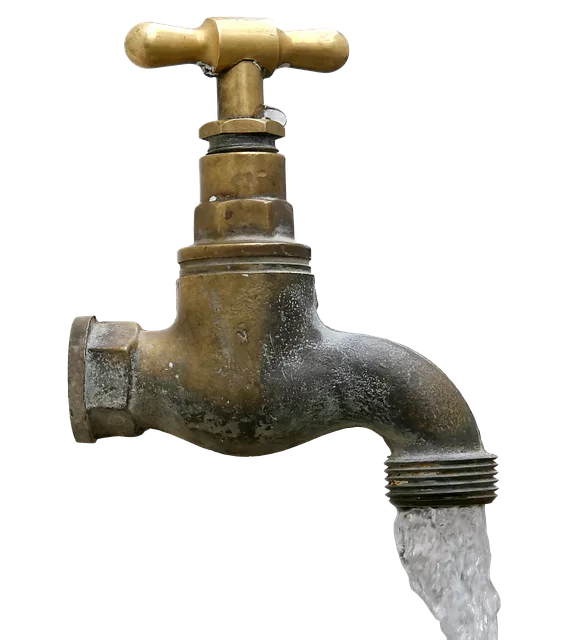
Turn Off the Water Supply

Before tackling any faucet repair, the first step is to turn off the water supply to ensure a safe and mess-free process. Locate your home’s main shut-off valve, typically found near the water meter or in a utility closet. Turning this valve clockwise will stop the water flow to the entire house, including your bathroom faucet. This simple action prevents any unexpected sprays or floods during the repair process.
Once the water is turned off, you can proceed with confidence, knowing you’ve isolated the water source. This initial step is crucial for successful and stress-free faucet repair, ensuring you have control over the water flow throughout the entire repair journey.
Remove the Faucet Handles and Spout

To begin your faucet repair, the first step is to remove the faucet handles and spout. Start by twisting the handle counter-clockwise with a wrench or pliers until it comes off. Next, carefully lift out the spout assembly, which may require some gentle persuasion with a flathead screwdriver if it’s stuck. Once removed, inspect the components for any signs of damage, corrosion, or debris that might be causing the leak or other issues. This visual assessment will help guide your next steps in the faucet repair process.
Inspect and Replace Faulty Components

When conducting a faucet repair, one crucial step is to thoroughly inspect all components for any signs of damage or wear. This includes checking the faucet handle, disc cartridges (for single-handle faucets), and washer (for both types). Faulty parts can cause leaks or irregular water flow, so replacing them promptly is essential in maintaining a well-functioning bathroom faucet.
During inspection, look for cracks, corrosion, or deformation. If any components appear damaged, it’s best to replace them with new ones to ensure the repair’s longevity and prevent further complications. Remember, even small issues can lead to significant water waste over time, making regular maintenance and prompt replacement of faulty parts in faucet repair a smart practice.
Reassemble and Test the Faucet

After successfully replacing the faulty parts, it’s time to reassemble your bathroom faucet and test its functionality. Start by connecting the water lines, ensuring they are tightly secured to prevent leaks. Then, carefully place the faucet back into its original position, aligning the components correctly. Tighten any necessary screws or bolts, but be mindful not to overtighten, as this can damage the faucet or pipes. Once everything is in place, open and close the faucet several times to ensure smooth operation. Check for any leaks at the connections and around the base of the faucet, addressing them promptly if needed. If all functions properly, you’ve successfully completed your bathroom faucet repair, leaving you with a like-new fixture.
Troubleshooting Tips for Different Problems

When it comes to bathroom faucet repair, troubleshooting different problems can seem daunting, but with a few simple steps and some know-how, many issues can be resolved quickly. For leaks, check the O-rings or washer beneath the handle; these are common culprits. Tighten or replace them as needed. If your faucet is drippy, the issue might lie in the cartridge or valve seat—a more complex repair that may require a replacement part.
For low water pressure, inspect the aerator for any buildup or mineral deposits; cleaning it can restore flow. If this doesn’t help, check the supply lines and ensure they are not crushed or blocked. Sometimes, a simple adjustment of the valve handle can fix a stuck or hard-to-turn faucet. For more serious issues, such as a running faucet or excessive water heating, consult a professional plumber to diagnose and repair these complex problems, focusing on energy efficiency and safety.
When to Call a Professional Plumber

If simple DIY faucet repair techniques don’t work or if your issue seems complex, it’s time to call a professional plumber. Not all faucet repairs are created equal—some problems may indicate underlying issues with pipes, valves, or even water pressure that require expert knowledge and tools.
Professional plumbers have the specialized equipment and expertise to diagnose tricky faucet repair problems. They can also ensure your plumbing system remains in top condition by providing a thorough inspection and making any necessary recommendations for maintenance or future repairs.
Maintenance Tips to Prevent Future Repairs

Regular maintenance can significantly extend the lifespan of your bathroom faucet and prevent costly repairs. Start by inspecting the faucet for any signs of damage or wear, such as rust or leakage, and address them promptly. Lubricating the parts, especially the cartridges and valves, can prevent stiffness and ensure smooth operation. Keep an eye on the O-rings and gaskets as they are common sources of leaks; replace them if worn out.
Additionally, cleaning the faucet regularly with mild soap and water will remove mineral deposits and prevent hard water stains. Be sure to check the water pressure and adjust it if necessary to avoid excessive strain on the faucet mechanism. By incorporating these simple maintenance practices, you can significantly reduce the need for future faucet repairs, saving time and money in the long run.